


![Cal Carmichael starting for Carmel last season. Carmichael said he wants to do everything he can to help the team win every time he steps on the mound. [Submitted: Cal Carmichael]](https://hilite.org/wp-content/uploads/2026/04/Screenshot-2026-04-13-3.40.48-PM.png)


![Review: Project Hail Mary is a visually stunning film filled with deep emotion, humor and a heartfelt partnership [MUSE]](https://hilite.org/wp-content/uploads/2026/05/PHM2-2.jpg)
![Review: “Iron Lung” exemplifies the success of suspense [MUSE]](https://hilite.org/wp-content/uploads/2026/04/IronLung-1200x675.webp)
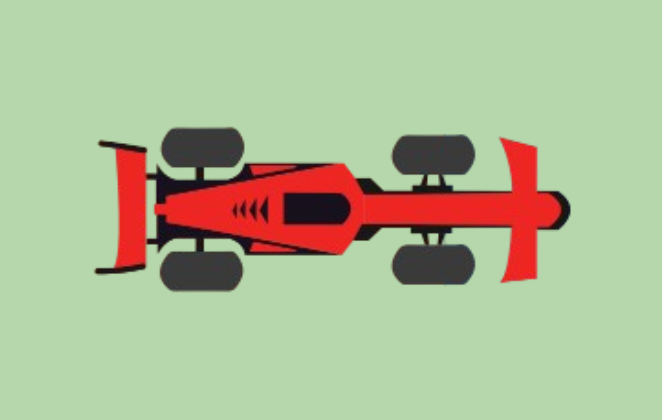
![Review: New F1 regulations prove to be anything but boring [MUSE]](https://hilite.org/wp-content/uploads/2026/04/2-1-1200x675.avif)
![“‘Wuthering Heights’” wasn’t a bad movie—it just wasn’t anything like the book [MUSE]](https://hilite.org/wp-content/uploads/2026/02/wutheringh-960x1200.webp)
![Review: Season 5 of “Stranger Things" delivered the perfect ending despite major mistakes [MUSE]](https://hilite.org/wp-content/uploads/2026/01/ems-810x1200.jpg)
![Review: “Zootopia 2” is a stunning and engaging sequel that elevates the universe [MUSE]](https://hilite.org/wp-content/uploads/2025/12/bjUWGw0Ao0qVWxagN3VCwBJHVo6-800x1200.jpg)
![Review: I have no critiques: “Demon Slayer: Infinity Castle” is amazing [MUSE]](https://hilite.org/wp-content/uploads/2025/12/MV5BOGQ3YWUzYjEtMTJiYy00ZjQ0LWI0YjktYjhiNGVhNGExYTM3XkEyXkFqcGc@._V1_FMjpg_UX1000_-797x1200.jpg)
![Review: Learning to say “I” with “The Fountainhead” [MUSE]](https://hilite.org/wp-content/uploads/2025/12/The_Fountain_Head_1943_1st_ed_-_Ayn_Rand.jpg)
![Review: Java House Fall Menu [MUSE]](https://hilite.org/wp-content/uploads/2025/12/Screenshot-2025-12-01-at-15.10.19-1200x618.png)
![Review: "When I Fly Towards You", cute, uplifting youth drama [MUSE]](https://hilite.org/wp-content/uploads/2023/09/When-I-Fly-Towards-You-Chinese-drama.png)
![Postcards from Muse: Hawaii Travel Diary [MUSE]](https://hilite.org/wp-content/uploads/2023/09/My-project-1-1200x1200.jpg)


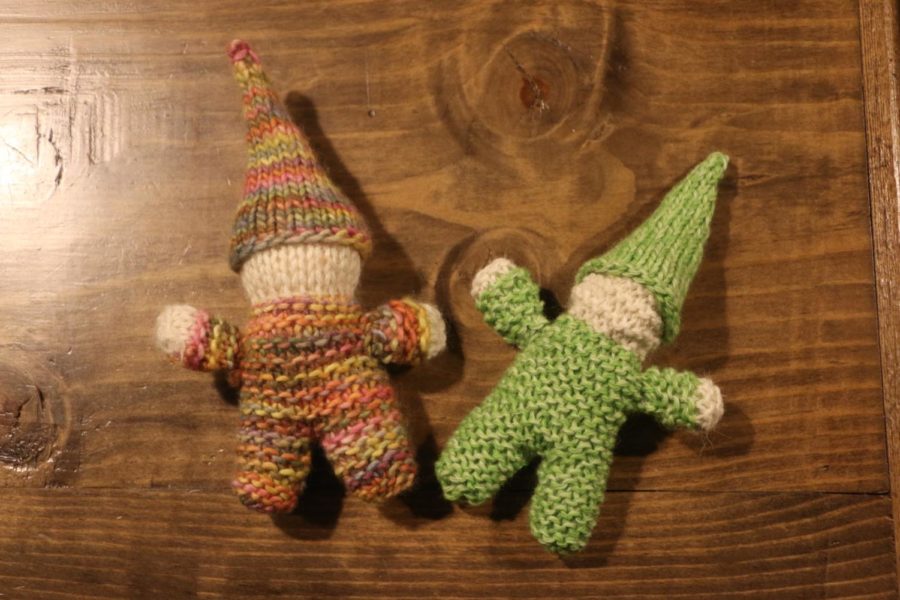
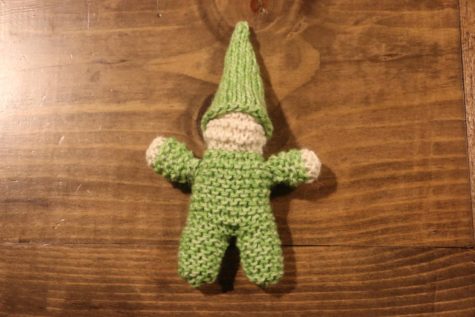
To accompany her column on hand-made gifts, reporter Lily McAndrews shares a knitting tutorial for making a gnome.
Supplies. To get started you need yarn of any color of your choice and a little piece of face colored yarn for the head. Knitting needles that correlate to the gauge of your yarn. Sewing needle with a bigger eye hole to fit the yard, scissors to cut and stuffing for inside of the gnome. The main color used in the example is green and the face color is white.

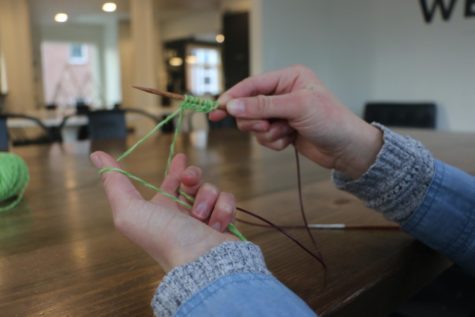
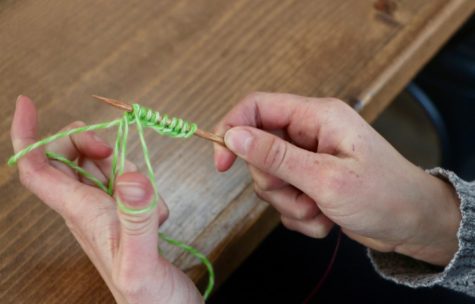
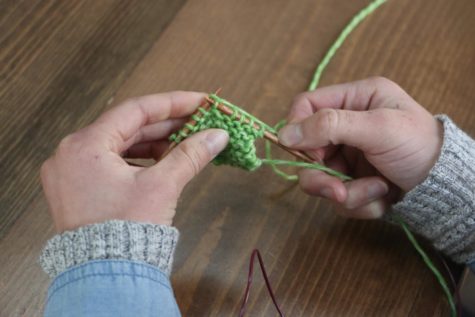
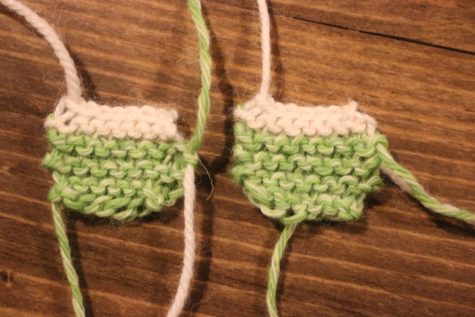
Casting on. The first step to your gnome is casting onto your needles with the main color that you chose. Drape the yarn over the needle and with your left hand, seperate the tail of your yarn and the working part of your yarn (one that is connected to the rest of the yarn). With your needle in your right hand go under the tail yarn and then over your working yarn, making a little triangle, in which you should go through creating one stitch. Repeat this step until you have 10 stitches.
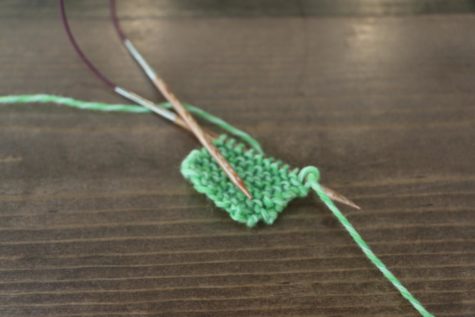
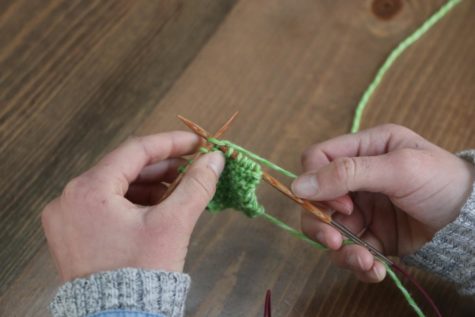
Begin knitting. Holding the needle with the 10 stitches casted on stitches in your left hand, bring the needle in your right hand through the first stitch. Wrap the working yarn around the left needle, bring the right needle though the new yarn and move the right needle left off the left needle. Repeat this for each stitch until you have completed 10 rows, making the first foot. Follow the same directions to make the 2nd foot, keeping them on the same needle.
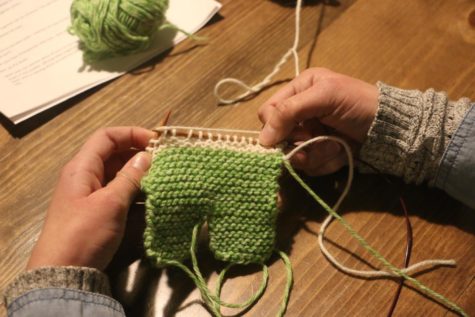
Connecting the feet. Now that you have completed both of the feet (congrats!) use the working yarn that you used for the 2nd foot and knitting across that foot then knit the first foot connecting the two feet seamlessly. Continue to knit back and forth to make the body. Knit for 16 more rows.
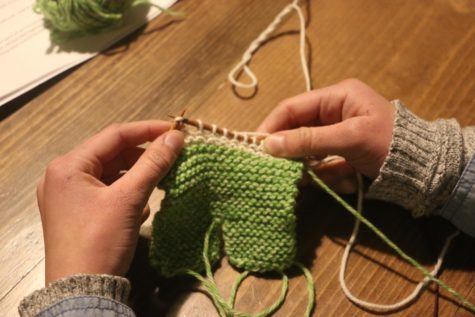
Color change. To begin making the head cut your working yarn of the main color (green) and pick up your face color (white) and start to work the yarn in across. Knit with the face color for 10 rows. Cast off using the face color by knitting a stitch at a time. Knit two stitches then bring the first stitch over the second one. You should have one stitch on your right needle. Knit one more stitch onto the right needle and bring the first stitch over the second one and so on until you have one more stitch left. Cut the working yarn and bring it through the last stitch.
Arm time. The body is finished and now it is time to make the arms. Cast on 8 stitches of the main color (green) knit back and forth for 6 rows. For the last two rows use the face color (white) and knit with this color for two rows. Cast off with the face color. Repeat this to make the second arm. Cut off the working yarn.
Head time. For the head cast on 22 stitches in your main color (green) and begin knitting the first row. For the second row, purl this side. For purling, bring the working yarn in front and put your right needle infront of the stitch, wrap around your right needle, pull it through and take the stitch off of the left needle on to the right. It should appear as a more horizontal design over knitting. Continue t purl across the second row and then begin to knit on the 3rd row. Every other row knitting and then purling. Cast off after
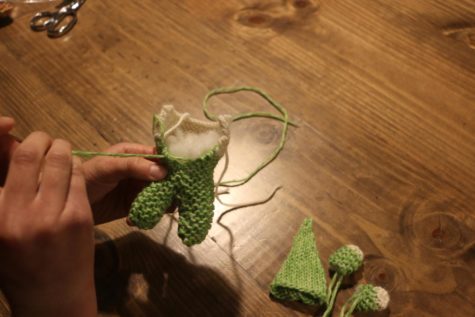
Sew it up, sew it up. Using the little sewing needle start to sew up the arms of the gnome. Use the coordinating colors to help the sewing stitches blend in with the knitting work. Before you have sewed up the arm put just the amount of stuffing for each arm, trying to make them identical to one another. After the arms, sew the hat in the main color with the knit side on the outside. Don’t worry if the bottom of the hat keeps rolling up, that is natural and it is supposed to happen! Finally sew each of the legs together to their coordinating sides and put stuffing in before it becomes too small to put your fingers down. Sew the body and head with the main color and then the face color. In the face color close the top of the head off tying the strings off to make sure the stuffing isn’t able to get out.

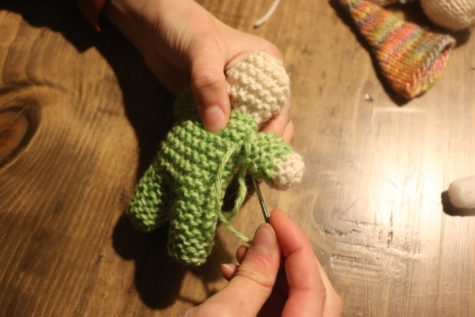
Gnome friend. Congratulations! You should have successfully completed your gnome friend, complete with a pointy gnome hat! It is the perfect homemade gift for anyone of you friends or family members, especially for the holidays or special birthdays!